Wednesday 24 February 2010

A stash game catch up!

One of the sewing sites I visit, Sewing Mamas has a twice yearly Stash Game. It's a competition where the idea is to use up as much of your stash as possible with points being awarded according to the rules (which can get pretty confusing!). I've played along a few times, I have even managed to win a prize once :) Unfortunately, despite the kids being off at grandma's for a week this month, I haven't been able to get a lot of sewing done so I think I may be out of the running this year! Here are the last few things I've managed to finish over the past week or so.

I tried a new pattern from Ottobre Woman's Autumn/Winter 2008 issue. Design #8, a basic long sleeve raglan top. Please ignore the hideously creased state it's in, I realised I hadn't photo'd it and pulled it out of the washing pile!

DSC00529

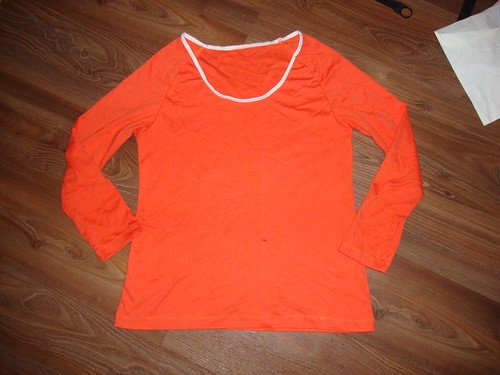
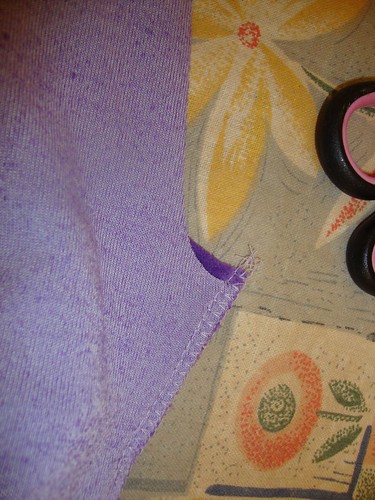
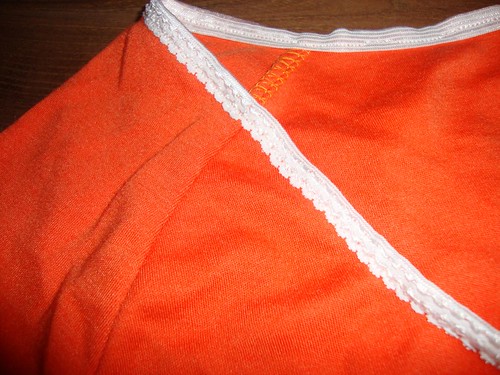
It's a very, very, very bright orange interlock. I have no intention of wearing this a lot, only until I get a chance to make a few more from slightly less neon fabrics! The colour really does nothing for me, great for a trial run though. The interlock needs to be slightly stretchier (or I need to lose a few pounds ;P) but on the hwole I like the way it fits. I need to lengthen the sleeves one inch next time and rememebr to stretch the FOE on the neckline a bit more. Here's a close-up of that, it's a quite pretty decorative elastic instead of my usual plain option.

DSC00530

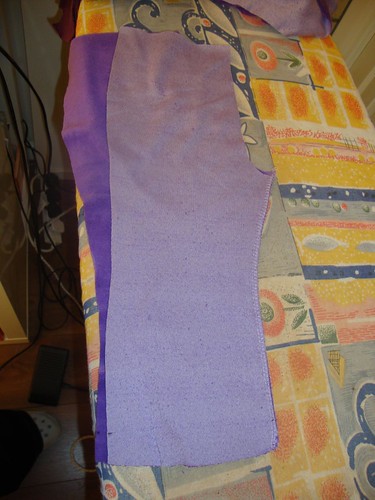
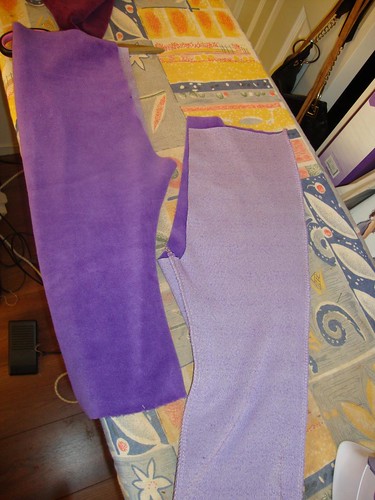
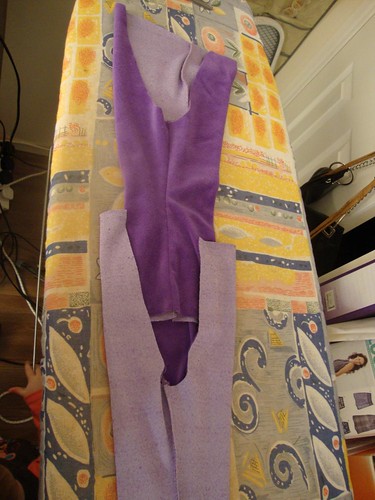
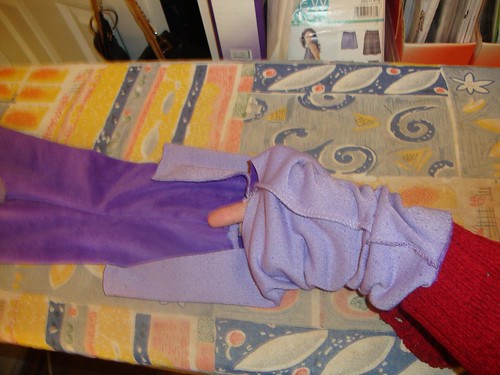
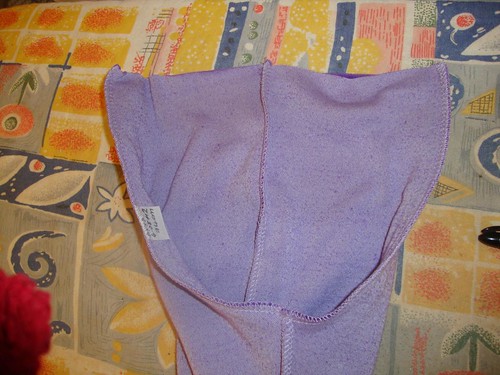
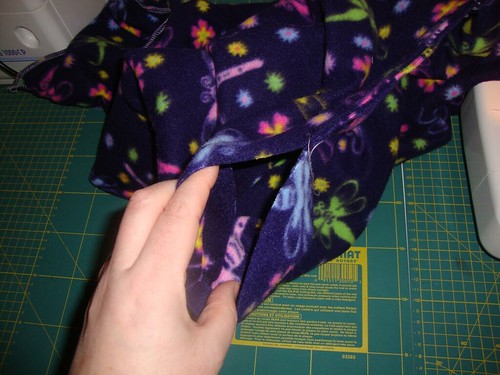
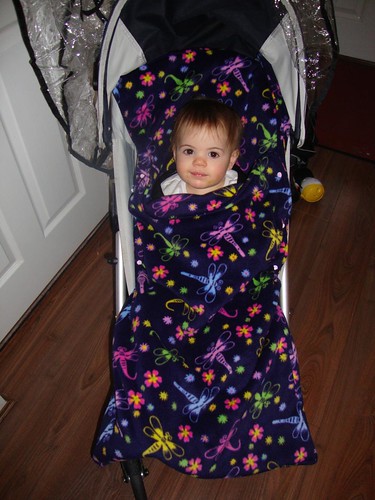
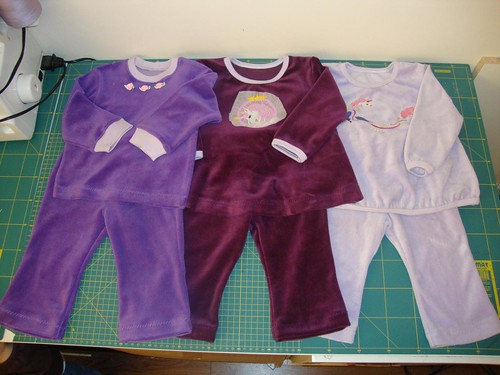
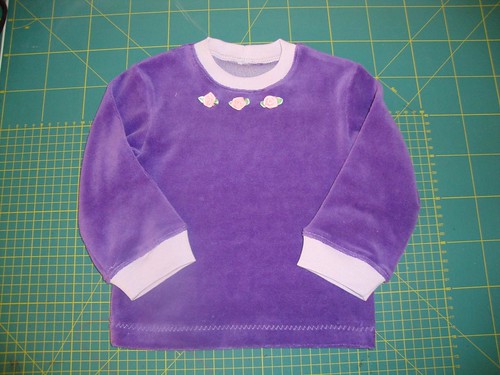
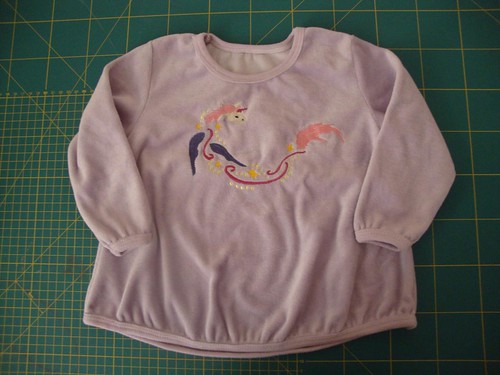
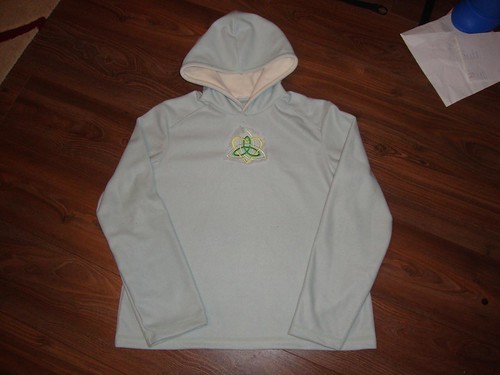
Next up, again for me, two fleece hoodies. Would you be surprised to hear they're Ottobre patterns? No? Didn't think so :) This is design #42 from Autumn 2003 minus all the pockets. I had a few yards of microfleece left over from my WAHM days and they were perfect for these, especially as we're having such a cold snap just now. They're very, very soft and cosy and while this first one makes me feel vaguely like an ice cream I still like it! The pink is slightly stronger than in the photo, it looks very washed out here.

DSC00526

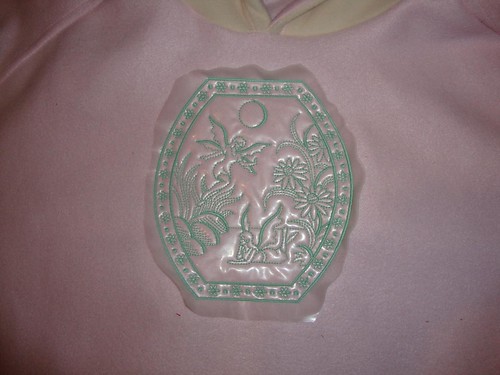
Princess thought it was just fabulous that I had fairies on my clothes :) This design is from an EMBlibrary design pack.

DSC00527

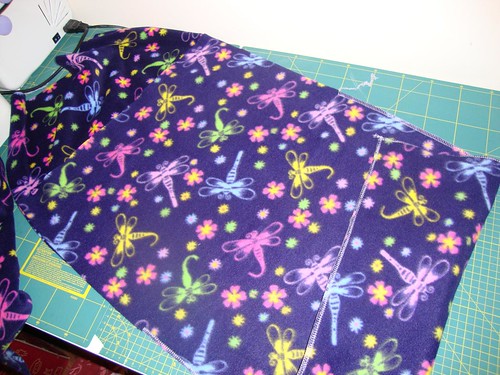
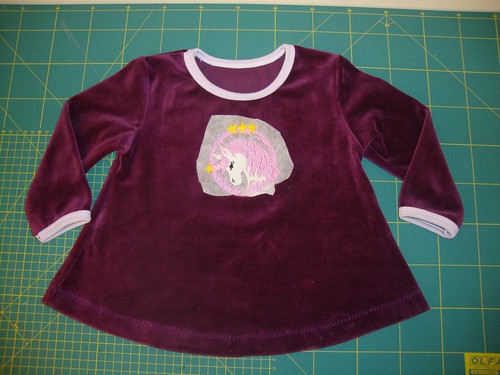
The second one is a sage green colour, I had *just* enough fabric.

DSC00525

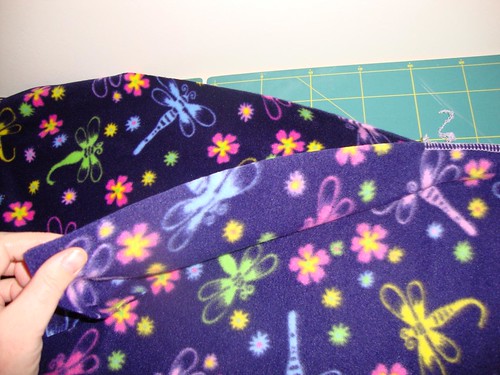
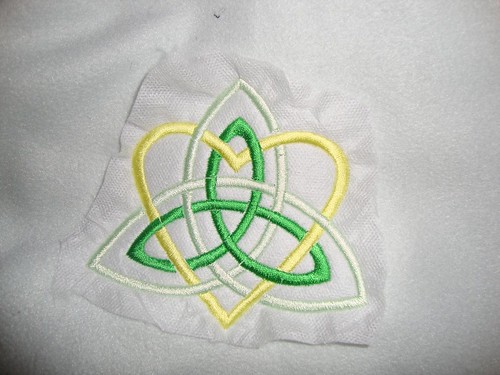
The embroidery is again from an EMBlibrary pack and would have stitched out a lot better had I rememebred to use a new needle. There are a few loopy threads but it's not too noticeable when it's worn.

DSC00528

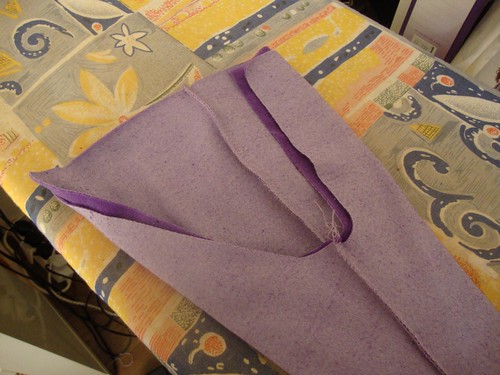
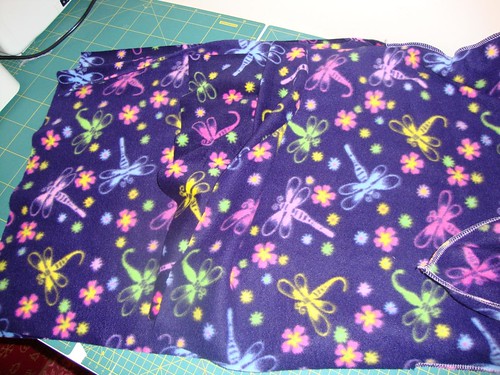
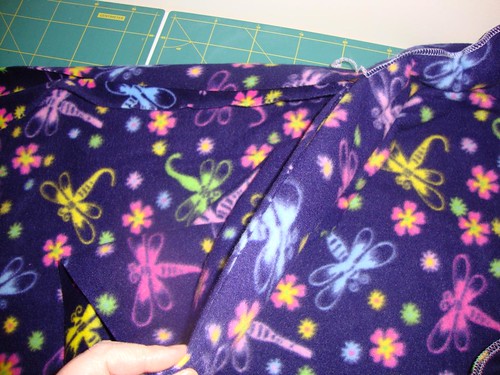
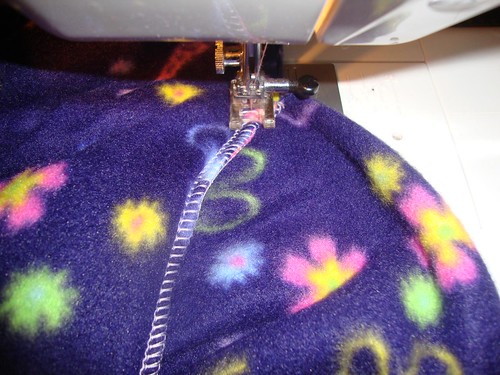
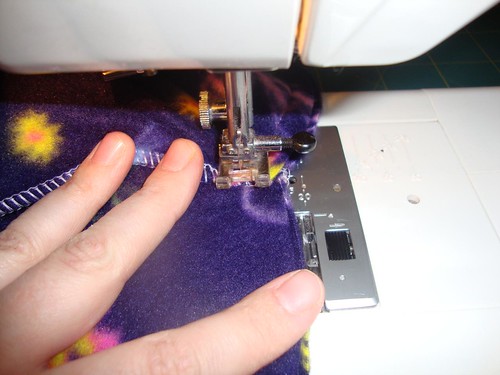
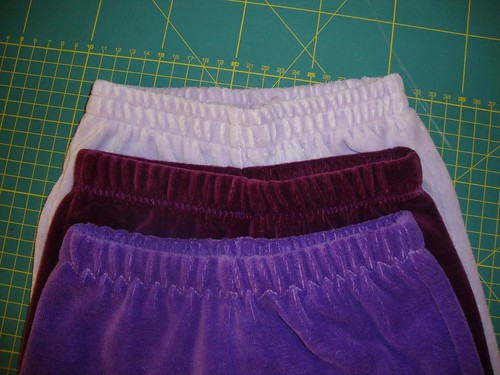
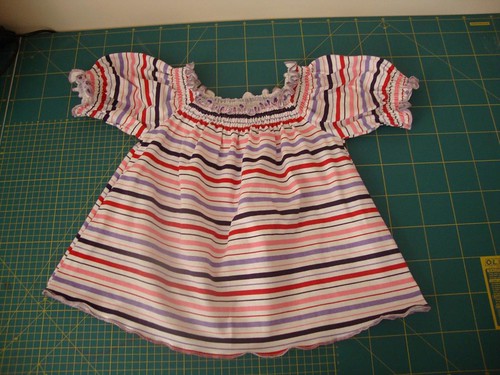
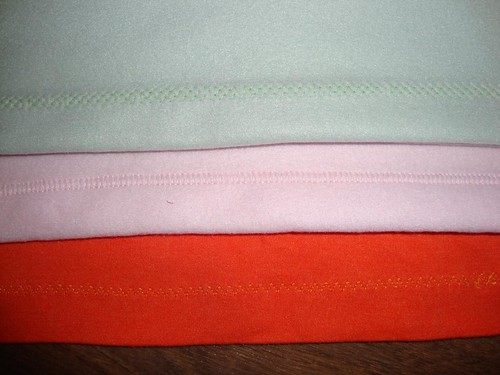
I used a few different stitches for the hems. The orange interlock is my usual three step zigzag but I wanted a different look on the fleeces. The pink/white top uses a closed overlock stitch which resembles a flatlock and the green fleece uses a honeycomb.

DSC00531

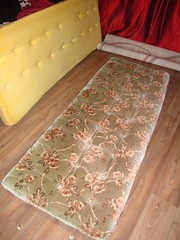
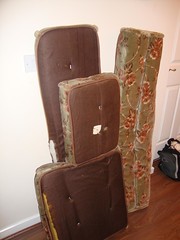
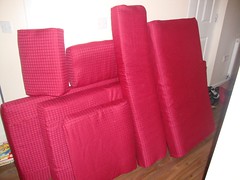
That was it for sewing for myself, the majority of my time was taken up with more caravan cushions! There are only two left now and I'll hopefully get them done this weekend while Hubby is off.

DSC00521 DSC00522 DSC00523

Sunday 7 February 2010

Two piece trousers tutorial

Yep, another tutorial :) Here is how to piece together a basic pair of trousers with two piece legs. For the tutorial I'm using the Vilkas pattern from Ottobre 04/2007.

Two piece trousers have, as you may guess, two pieces to each leg. There's a back piece, shown on the left, and a front piece, on the right. In a well drafted pattern you will be able to tell the difference as the crotch curve on the back will be longer than the crotch curve on the front. As Ottobre patterns are well drafted you can see this difference in the pieces here:
DSC00452

We'll start by sewing the inseam of the trousers. Place one front and one back piece on top of each other, right sides together. Sew the short edge together, from the bottom hem up towards the crotch.
DSC00455

You may have a small piece of fabric poking up on the back piece after you sew your seam, as long as this isn't bigger than your seam allowance you don't need to do anything. If it is bigger than your seam allowance, you might want to unpick and try again :)
DSC00454

There are two ways we can proceed from here. As I was making more than one pair of trousers anyway, I'll show you both.

OPTION 1
We now sew the long outseam, again starting from the hem and sewing up towards the waistband. When you've sewn both legs you need to turn one right sides out.
DSC00456

Place the right side out trouser leg inside the wrong way out trousers leg, it helps to put your hand through from the bottom hem end and pull.
DSC00457 DSC00458

Wiggle them around until they lay flat and the waistband and crotch raw edges line up.
DSC00459

Sew the curved crotch seam, lining up raw edges and the leg inseam.
DSC00460

I add in a label to the back crotch seam at this stage so my children know where the back is. Here we are with the crotch seam all sewn.
DSC00461

Now you need to separate the legs again, just reach inside and pull the inner leg free of the outer. And all of a sudden they look like trousers! Inside out trousers with no elastic or hems but still, trousers!
DSC00462

All that's left is to hem the legs and sew on the waistband elastic, then they're done. Let's look at option two....

OPTION 2

Here we are again, with both trouser leg inseams sewn together:
DSC00463

This time, open out one leg along the inseam.
DSC00464

Place the other leg on top, right sides together. See the big U shape, with the inseam in the middle of it? That's the crotch seam and we're going to sew it now.
DSC00465

Here it is sewn, you can see my tag marking the centre back seam.
DSC00466

We've now sewn the inseam and crotch seams, we need to place the front and back pieces together to sew the outseams. With experience, this gets easier and less confusing. For your first few pairs I suggest going the long way round! Pick up the trousers, keeping the centre front and centre back crotch seams together in your hand.
DSC00467

Fold the trousers flat along the inseams and lay them flat again. They will be right side out at this point, the centre front and centre back crotch seam should be in the middle where they belong, the inseams that we sewed together first of all should be facing each other and the outseams should be unsewn but lined up.
DSC00468

We need to turn them right sides together to sew the outseam. Take hold of the top layer of fabric (the front) at the waist edge and fold it down towards the crotch.
DSC00469

Push it in between the trouser legs and bring it back up so the waist edges and centre front/back crotch seams are lined up again. The trousers are now exactly as they were a moment ago only right sides together, not right sides out.
DSC00470

Stitch the outseams, bottom hem up towards waistband and there we go, all that's left is to stitch the bottom hems and apply the waistband elastic.
DSC00471


Which method you use to piece your trousers is a matter of personal preference. After years of using the second method I now prefer the first, especially if using woven fabrics as it lets me topstitch all of the seams. Try them both a couple of times and see which one you like best.

You may have noticed I haven't mentioned how to apply the elastic to the waistband...that's a whole other post lol! I have a tutorial for it on Flickr, I'll add it here sometime soon to keep everything in the same place. As always, any questions please comment and I'll get back to you

Cosytoes Tutorial

We bought a new stroller a few weeks ago to replace Baby's somewhat bulky travel system. Of course she kicks all of her blankets off and with the very cold weather we're having the poor little mite starts to turn blue very quickly! A quick rummage through my stash produced a lovely piece of girly fleece and after a bit of thinking I planned out how to make a cosytoes for her. Naturally I took photo's to share it with you all in case you too have a cold baby who doesn't understand the importance of a blanket :)

I made mine two layers of fleece and after measuring our buggy I cut the back piece 1 metre long by 50cm wide and the front piece 70cm by 50cm. You need to cut two of each size rectangle and you might want to measure your buggy to see if you need to adjust those sizes.

Take one of the smaller rectangles and place it right sides together with one of the large rectangles. Line up the sides and bottom edge and sew them together. Start and end your sides seams 30cm down from the top edge of the front piece.
Sew the top to the back right sides together Leave a 30cm piece unsewn

Repeat this for the other two pieces to make one outer piece and one lining piece. Turn the lining right side out and place it inside the outer.
Place inside each other, right sides together

Starting part way along the back, line up all of the raw edges and stitch them together with a 1cm (3/8") seam allowance.
Line up the raw edges

When you come to the side seam, stop with the needle down, pivot the fabric and carry on stitching along the front seam. Repeat when you reach the other side seam to carry on sewing up the back piece.
Stop at the seam Pivot and carry on down the other edge

As you approach your starting point stop sewing, leaving a gap large enough to turn the cosytoes right side out.
Leave a hole to turn

Pull the cosytoes right side out through the hole and push the foot part of the lining inside the foot part of the outer until everything sites nice and flat. Topstitch the front and back 1/4" in from the edge, all along the seam you just sewed. When you come to the opening you used for turning, fold in the seam allowances and carry on topstitching to sew it closed. Next topstitch across the bottom of the cosytoes 3/8" from the edge making sure you catch the lining as well as the outer. This holds the lining in place so you don't have to push it back in all the time, there's probably a better way to do it but I was in a hurry :)

Place your cosytoes on your buggy and mark where the holes need to go for the straps. Straight stitch round where the holes will go, backstitching a few times at the corners to reinforce them, then cut the holes open. You can make buttonholes if you prefer. Add three snaps on the front flap and the back, put the cosytoes on and add one baby. Here she is with the flap fully snapped up, doesn't she look warm?
Flap up

And here she is with the flap down, I placed my cosytoes so that the crotch strap comes through just where the top flap folds down. Baby sits in, I tuck in her feet, snap it up and she's all covered with no chance of kicking anything off!
Flap down

I hope that all made sense! Any questions, just leave a comment and I'll get back to you as soon as I can :)

**Want to know what to do with the fleece scraps? They make great doll blankets, I now have a very happy five year old who can stop pestering me about her cold babies!**
Doll blanket

Thursday 4 February 2010

More of Baby's Spring SWAP

Argh, if I'd known how bored I would get I never would have started this SWAP. I will be quite happy if I never sew purple or lavender again! The concept is great and when it's done Baby will have a drawer full of clothes that Hubby can dress her from and she will look reasonable co-ordinated instead of how she usually looks when he dresses her (he's of the opinion "that'll do!" when it comes to clothes and sometimes, really, it won't do at all!). So it will be worth it in the end. But I am B-O-R-E-D of it now and am going to take a break and work on something else for a while before I go insane - this is meant to be my therapy, not torture!

Here are the things I've finished up so far, I can't remember exactly where I got the unicorn embroideries from. I want to say huups but I don't think it is. They're one of my favourite sets though, love them!

I made three mix'n'match velour sets, the trousers are all the Vilkas pattern from Ottobre 04/08, #2. They're a size 74cm, my kids have all needed one size smaller on bottom than on top and despite being teeny it look like Baby is at least the same shape as her siblings.
Velour sets

I tried three different waistband finishes on the trousers (I mentioned I was bored, right?) just to remind myself which one I liked best. The top one is two lines of straight stitching and this one stretched out the elastic around 3/4" more than the others. It's my least favourite. The middle is a normal zigzag and the bottom is a 3-step zigzag. The 3-step is my favourite and I'll be sticking with it. It's just nice to reaffirm these things sometimes :)
3 different waistband finishes

I used two different patterns for the tops. The purple one is Ottobre 04/05 #5, 80cm. I'm not sold on the roses. The magazine has a row of them curving round the neckline but I really didn't like that when I laid them out so I went for three across the (more or less!) centre instead. Not hugely keen on it, I'll leave them on but I don't think I'll do it again. I found the neckline piece on this pattern to be huge, I had to shorten it by 4cm to get it to fit nicely.
Ottobre 04/05 #5 80cm

The plum and lavender tops are both from Ottobre 04/07 #13, the Teapot Tunic in 80cm. The pattern calls for sweatshirt fleece but I thought velour would work OK as a substitute and it does. It's a little looser than it should be as the velour is stretchier but that's not a problem. One thing I didn't like, the pattern has the bottom hem bound instead of turned up. The lavender is the one I did first and you can see in the picture that the binding has gathered in the hemline quite a bit. When Baby's wearing it it looks like a bubble hem and I Do Not like it. Nothing against bubble hems, just not the look I was going for. When I came to do the plum one I added an extra inch to the bottom and turned up the hem instead, I greatly prefer how this one looks.
Ottobre 04/07 #13 80cm Ottobre 04/07 #13 80cm

Another little pair of trousers, corduroy this time. Ottobre 01/10 #13, 74cm. I left off the pockets and the bottom ruffles on these as this SWAP is about quick and easy wardrobe basics. I love the fit of these and I will definitely make them again with the extra details, they have slightly bootcut legs and are not too high in the rise.
Ottobre 1/2010, #13, 74cm

Here is the tunic to match them, this was a complete disaster lol! For a start, my fabric was never going to work. It's drafted for a lightweight voile and I chose a knit to co-ordinate with the above trousers but didn't think that the pattern might need some alterations to make up for the difference in fabrics. It is absolutely enormous, too big in fact for my five year old who usually wears a 122cm top! It's fixable though, I will unpick the side and underarm seams then sew the raglan seam again taking away 1.5" at the neck, tapering to 1" at the body. Yes, it really does need 6" taken out at the neckline. Enormous I said, enormous!
Ottobre 1/10, #11, 80cm

Here they are together, these are both PRR fabrics that have been ageing nicely in my stash for close to five years. Good to have them sewn into something! I still have some of the bows cord left, no idea what I'll do with it yet.
Stripes and bows together

That's it for Baby's SWAP just now. I still have a few more pieces I need to cut and sew before it's done but I think I'm going to go sew something Boyish for a change, I need to escape from all the purpley lavender goodness!