Tuesday 27 April 2010

Communion dress

Here we are, the latest project hot off the machine :) This is what I was referring to when I said I was excited about my next post, my friend's little girl M has her First Communion coming up next month and her mum asked me for help as she was proving very difficult to fit. When I measured her her chest was right off Ottobre's child sizes and her waist was in the largest size while her height puts her in a 134cm. Mmm, I could see why the RTW dresses weren't fitting! The shop my friend had looked in wanted £60 to alter the length on a dress which was still a poor fit through the bodice, I was pretty sure we could manage to make her a well fitting dress for less than that so was more than happy to step in and sew one for her.

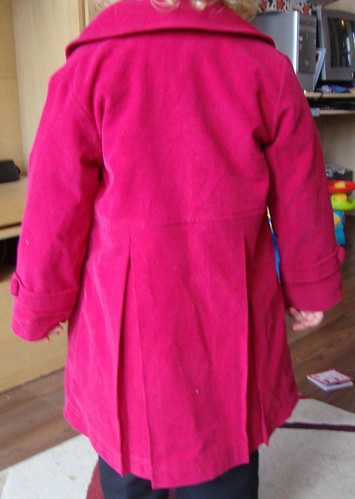
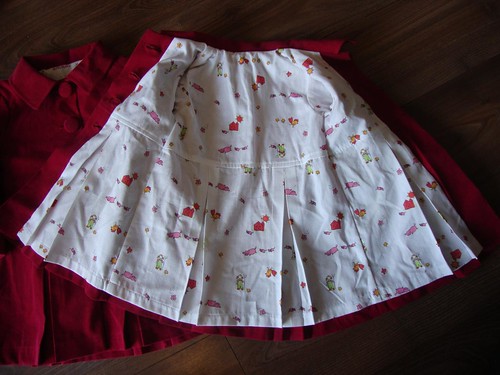
While I had her here being measured I let M browse through my Ottobre pdf folder, it has printouts of the All Designs pages from my magazines. Being very much a tomboy she wanted something very plain, no frills or ruffles or beads or sequins or anything girly at all. Her favourite was the wool knit pinafore from Ottobre's Winter 2006 issue. Now at first glance, that really doesn't look like a communion dress which just goes to show the difference that fabric choices can make to a pattern as mine looks like this:

Ottobre 05/06 #29, front view

I see from the photo I need to press the hem again, one side is sitting a little off :) Here is the back.

Ottobre 05/06 #29, back view

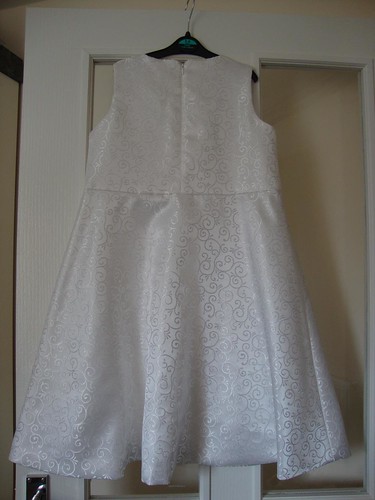
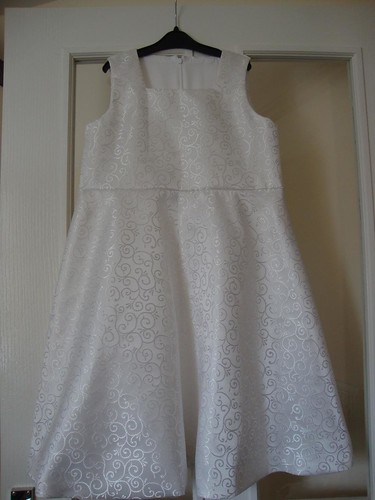
I was very lucky with this pattern, as it's designed for a wool knit fabric and also to be worn over a jumper there was enough ease in the pattern that the size 134cm fit M perfectly without needing to have any extra width added. It's much snugger on her than on the model but for the style of dress we wanted that was just right.

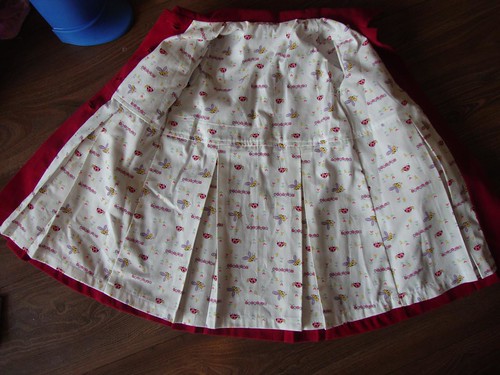
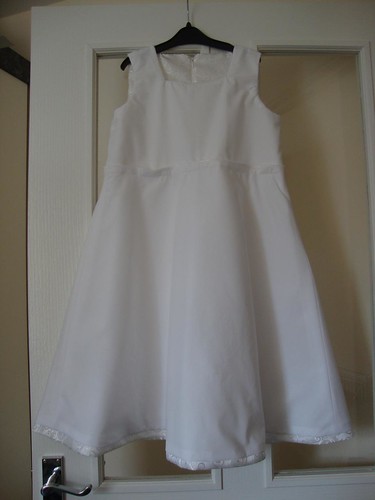
She chose the fabric herself, it's a swirl embossed satin from Fabric UK and I used a white polycotton for the lining. It's fully lined and I decided to change the hemline slightly as my hand blind stitching would have been visible from a mile away :) Instead of hemming the sating and lining separately I stitched them right sides together, turned right sides out and when the top edges were lined up the lining pulled the satin hem to the wrong side and it simply needed pressed, no further stitching was needed. The two layers were then attached to the bodice as one. This does leave an exposed seam at the bodice which I could have hidden with some hand stitching but I avoid that like the plague lol! Here's a view of the lining:

Inside lining

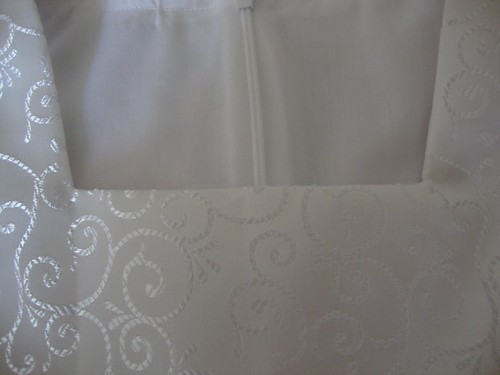
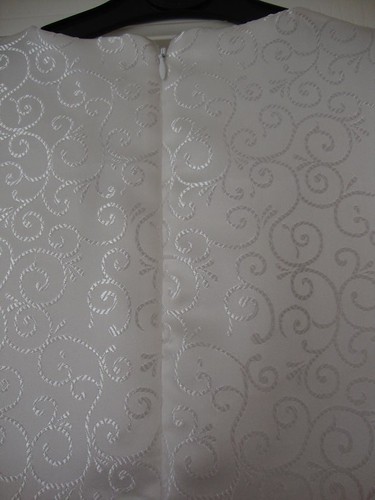
And a couple of close-ups of the square neckline and the back zipper. I haven't sewn either of those for a while and was pleased with how they came out.

Square neckline

Invisible zipper

M will be around later tonight or tomorrow to try it on, she still has to decide if she wants to add a sash around the bodice seam to tie in a bow at the back or if she likes it as it is. I will try to get a modelled photo when she's here!

Saturday 24 April 2010

Two months!

While clicking the New Post button on my Blogger dashboard I noticed my last post date was February 24th. I can't believe I haven't blogged anything in two months!! I haven't really been doing much sewing but still, for two whole months? The time is really getting away from me lately.

I think the only thing I have ready to show today is two more of the sweet little coats from Ottobre Spring 2010. I blogged a lavender one for the Baby already and liked the pattern so much I decided to make one each for my two youngest nieces. The outer corduroy is a gorgeous deep cranberry red which did not photograph at all well, the inner linings on both are twill prints from Painting Red Rhinos, sweet fabrics from stash that are older than the girls they are being given to LOL!

Here's a photo of the larger one being modelled by my Monkey - it's a size or so too small for her and wouldn't button shut but you get the general idea :) My niece is much smaller though only six months younger than my model, her mother has reported that she loves it and it fits her nicely.

Front view

Back view

I laid a single line of fusible thread into the outer foldlines of the pleats and fused them into place to keep the pleat crisp. Fingers crossed that it holds up through laundering and the pleats won't have to be fully refolded and pressed every time it gets washed! I love the big buttons, they're so old fashioned looking. A complete bear to sew the buttonholes for though, my auto buttonhole foot only just did a hole that was wide enough!

Here are both of the linings, I love using fun prints for coat linings. Just because it's inside and mostly unseen doesn't mean it has to be ugly, right?

Lining 2

Lining 1

And here is a close up of the smaller button and tab on the sleeves. I think this one little detail makes all the difference to the whole pattern, it's such a nice touch.

Sleeve tabs

That's it for today. I have finished a couple more projects but I don't have any pics of them yet, I will blog when I'm done! I'm quite excited about the one I'm working on just now, there will hopefully be a post about it in the next few days :)