While I had her here being measured I let M browse through my Ottobre pdf folder, it has printouts of the All Designs pages from my magazines. Being very much a tomboy she wanted something very plain, no frills or ruffles or beads or sequins or anything girly at all. Her favourite was the wool knit pinafore from Ottobre's Winter 2006 issue. Now at first glance, that really doesn't look like a communion dress which just goes to show the difference that fabric choices can make to a pattern as mine looks like this:
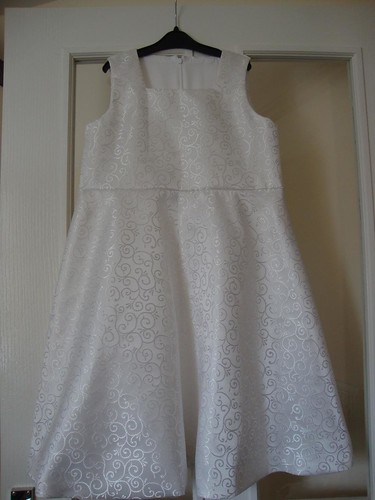
I see from the photo I need to press the hem again, one side is sitting a little off :) Here is the back.
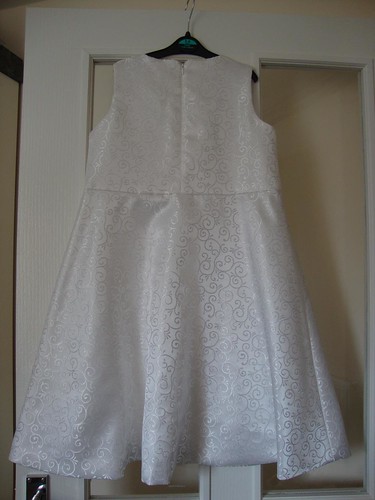
I was very lucky with this pattern, as it's designed for a wool knit fabric and also to be worn over a jumper there was enough ease in the pattern that the size 134cm fit M perfectly without needing to have any extra width added. It's much snugger on her than on the model but for the style of dress we wanted that was just right.
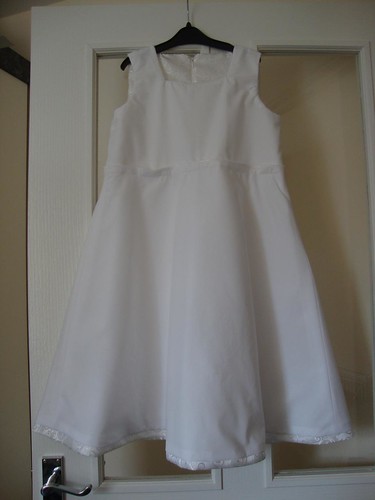
She chose the fabric herself, it's a swirl embossed satin from Fabric UK and I used a white polycotton for the lining. It's fully lined and I decided to change the hemline slightly as my hand blind stitching would have been visible from a mile away :) Instead of hemming the sating and lining separately I stitched them right sides together, turned right sides out and when the top edges were lined up the lining pulled the satin hem to the wrong side and it simply needed pressed, no further stitching was needed. The two layers were then attached to the bodice as one. This does leave an exposed seam at the bodice which I could have hidden with some hand stitching but I avoid that like the plague lol! Here's a view of the lining:
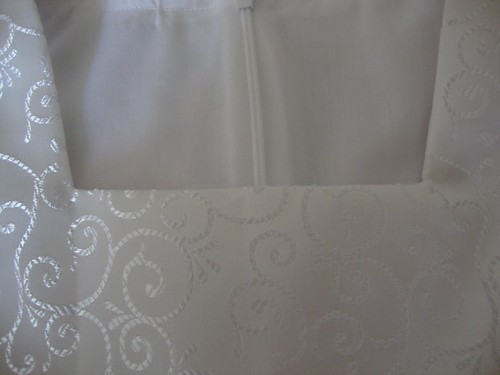
And a couple of close-ups of the square neckline and the back zipper. I haven't sewn either of those for a while and was pleased with how they came out.
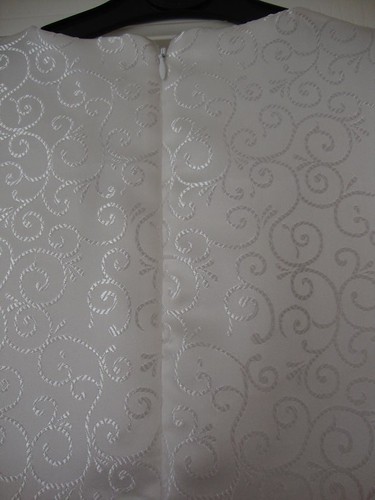
M will be around later tonight or tomorrow to try it on, she still has to decide if she wants to add a sash around the bodice seam to tie in a bow at the back or if she likes it as it is. I will try to get a modelled photo when she's here!
wow oh wow that is magnificent
ReplyDeletei so love the idea for the hem
Thank you :)
ReplyDeleteWow! Looks amazing... How did you get your corners on the neck not scrunched up?
ReplyDeleteClip right up to the seamline before turning right way out, it usually works for me :)
ReplyDeleteI truly loved the design.. on my recent visit to India I picked a pyjama that has the same design.
ReplyDeleteGoodness, so much stylish adorable-ness in one great post! Love the different looks and styles.
ReplyDelete