I made mine two layers of fleece and after measuring our buggy I cut the back piece 1 metre long by 50cm wide and the front piece 70cm by 50cm. You need to cut two of each size rectangle and you might want to measure your buggy to see if you need to adjust those sizes.
Take one of the smaller rectangles and place it right sides together with one of the large rectangles. Line up the sides and bottom edge and sew them together. Start and end your sides seams 30cm down from the top edge of the front piece.
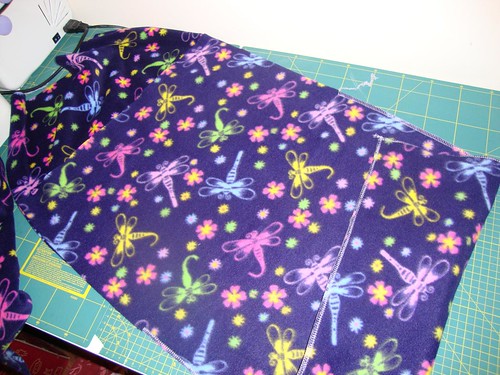
Repeat this for the other two pieces to make one outer piece and one lining piece. Turn the lining right side out and place it inside the outer.
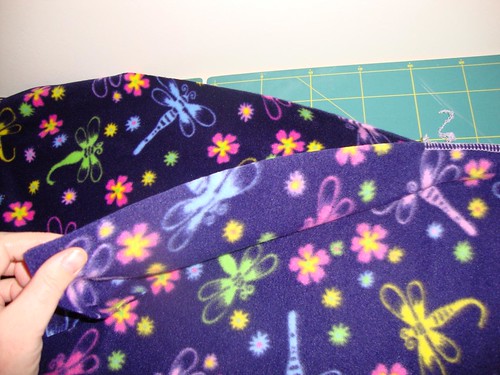
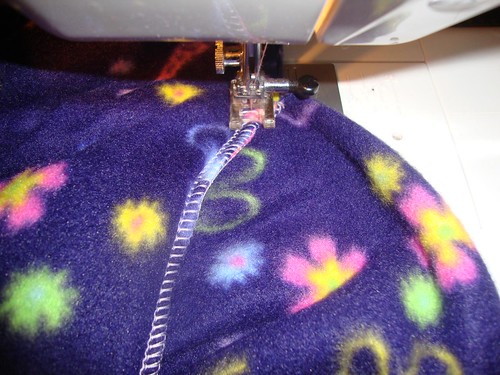
Starting part way along the back, line up all of the raw edges and stitch them together with a 1cm (3/8") seam allowance.
When you come to the side seam, stop with the needle down, pivot the fabric and carry on stitching along the front seam. Repeat when you reach the other side seam to carry on sewing up the back piece.
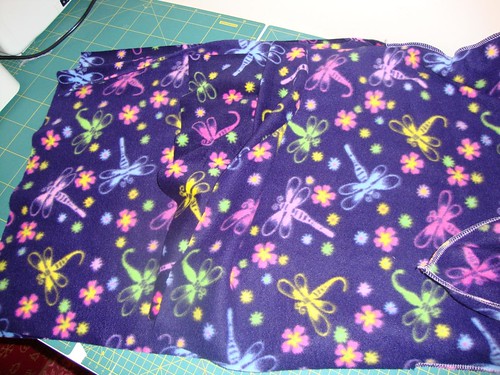
As you approach your starting point stop sewing, leaving a gap large enough to turn the cosytoes right side out.
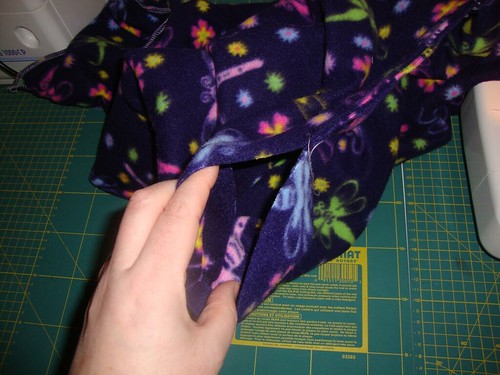
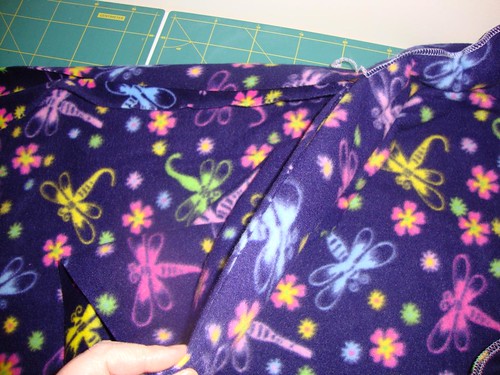
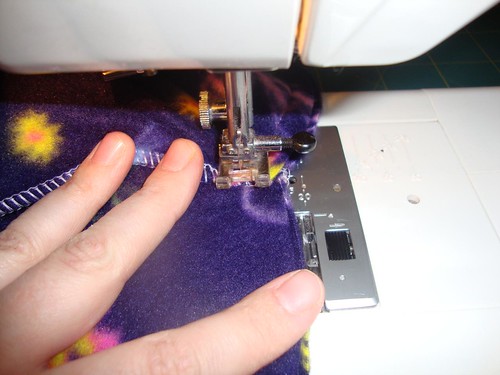
Pull the cosytoes right side out through the hole and push the foot part of the lining inside the foot part of the outer until everything sites nice and flat. Topstitch the front and back 1/4" in from the edge, all along the seam you just sewed. When you come to the opening you used for turning, fold in the seam allowances and carry on topstitching to sew it closed. Next topstitch across the bottom of the cosytoes 3/8" from the edge making sure you catch the lining as well as the outer. This holds the lining in place so you don't have to push it back in all the time, there's probably a better way to do it but I was in a hurry :)
Place your cosytoes on your buggy and mark where the holes need to go for the straps. Straight stitch round where the holes will go, backstitching a few times at the corners to reinforce them, then cut the holes open. You can make buttonholes if you prefer. Add three snaps on the front flap and the back, put the cosytoes on and add one baby. Here she is with the flap fully snapped up, doesn't she look warm?
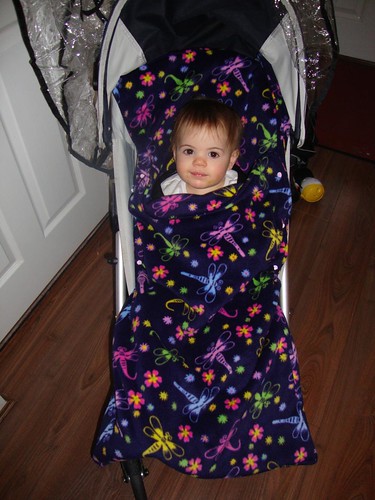
And here she is with the flap down, I placed my cosytoes so that the crotch strap comes through just where the top flap folds down. Baby sits in, I tuck in her feet, snap it up and she's all covered with no chance of kicking anything off!

I hope that all made sense! Any questions, just leave a comment and I'll get back to you as soon as I can :)
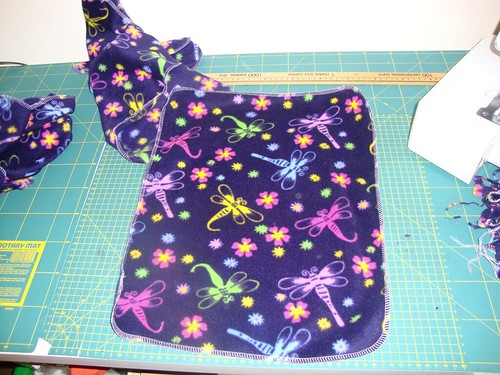
**Want to know what to do with the fleece scraps? They make great doll blankets, I now have a very happy five year old who can stop pestering me about her cold babies!**
This looks great I have ordered some gorgeous farmyard themed fleece and will report back to let you know how it goes! :)
ReplyDeleteFinished the first stage now - just need to make slots for straps and add press studs - fantastic so far I am dead chuffed! :)
ReplyDelete