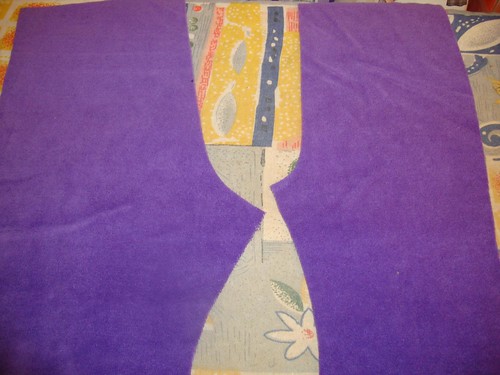
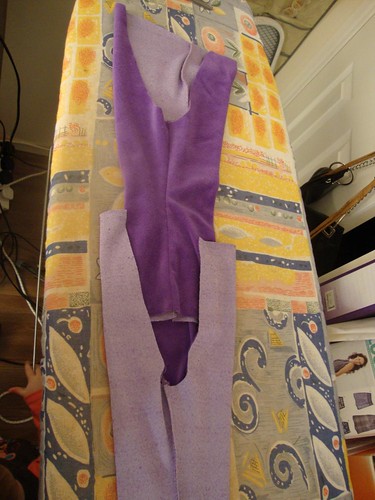
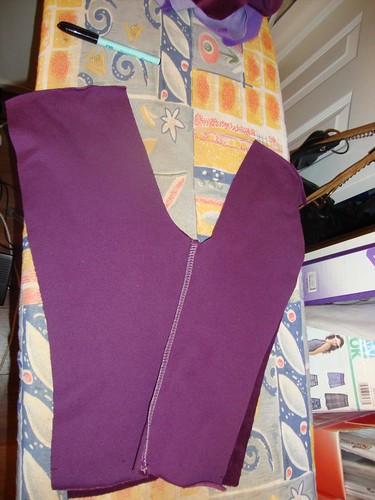
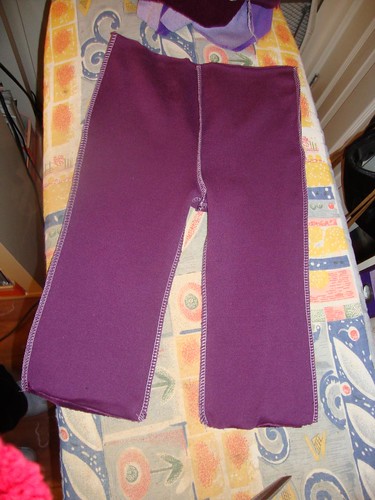
Two piece trousers have, as you may guess, two pieces to each leg. There's a back piece, shown on the left, and a front piece, on the right. In a well drafted pattern you will be able to tell the difference as the crotch curve on the back will be longer than the crotch curve on the front. As Ottobre patterns are well drafted you can see this difference in the pieces here:
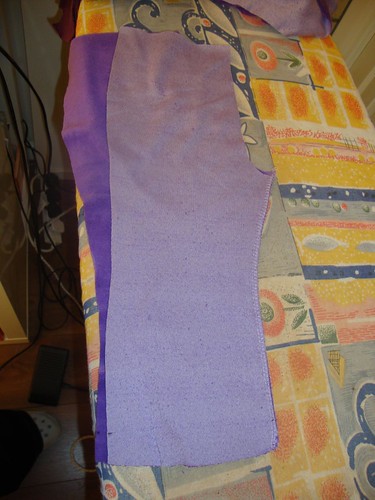
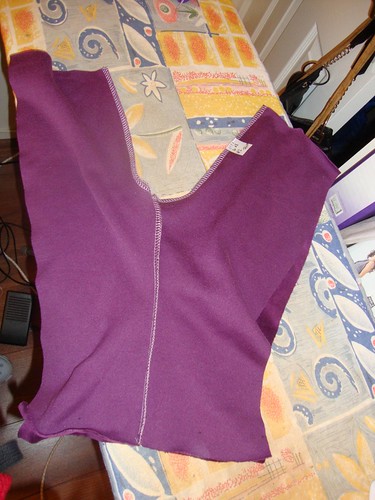
We'll start by sewing the inseam of the trousers. Place one front and one back piece on top of each other, right sides together. Sew the short edge together, from the bottom hem up towards the crotch.
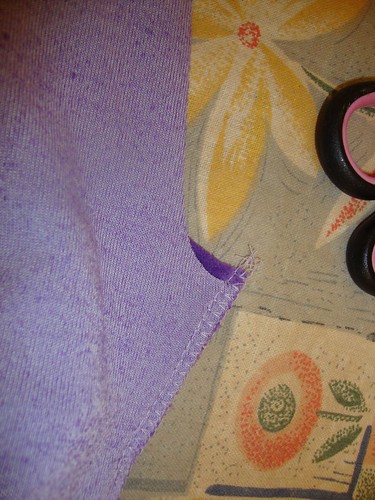
You may have a small piece of fabric poking up on the back piece after you sew your seam, as long as this isn't bigger than your seam allowance you don't need to do anything. If it is bigger than your seam allowance, you might want to unpick and try again :)
There are two ways we can proceed from here. As I was making more than one pair of trousers anyway, I'll show you both.
OPTION 1
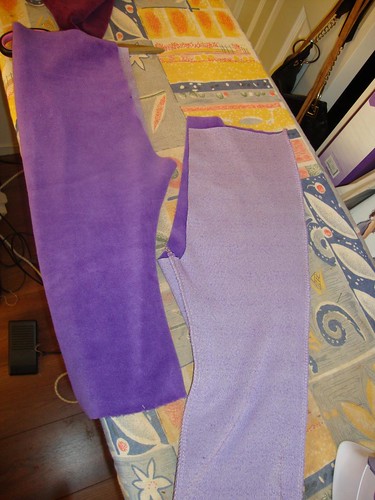
We now sew the long outseam, again starting from the hem and sewing up towards the waistband. When you've sewn both legs you need to turn one right sides out.
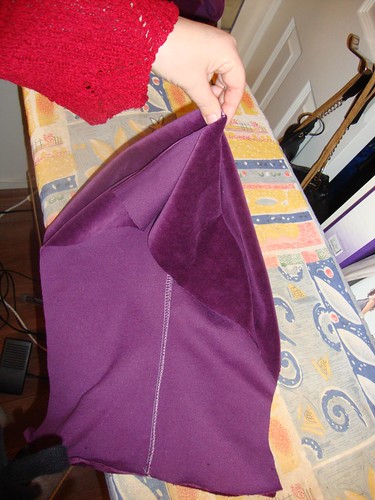
Place the right side out trouser leg inside the wrong way out trousers leg, it helps to put your hand through from the bottom hem end and pull.
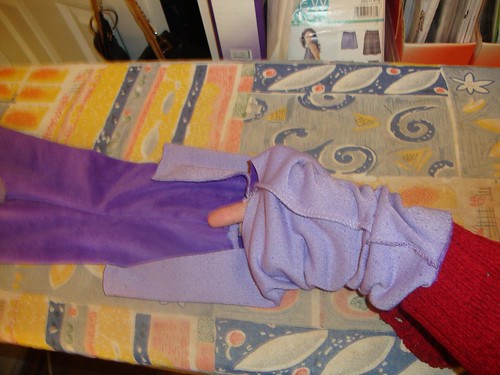
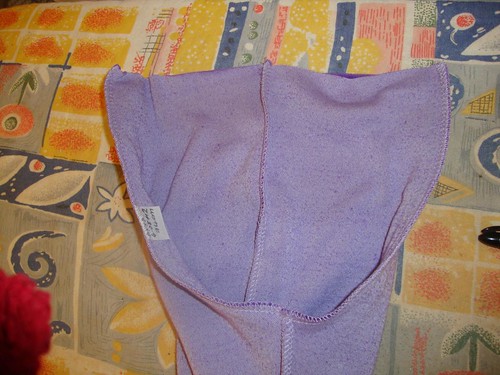
Wiggle them around until they lay flat and the waistband and crotch raw edges line up.
Sew the curved crotch seam, lining up raw edges and the leg inseam.
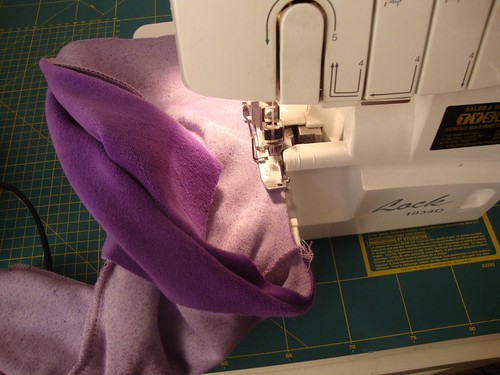
I add in a label to the back crotch seam at this stage so my children know where the back is. Here we are with the crotch seam all sewn.
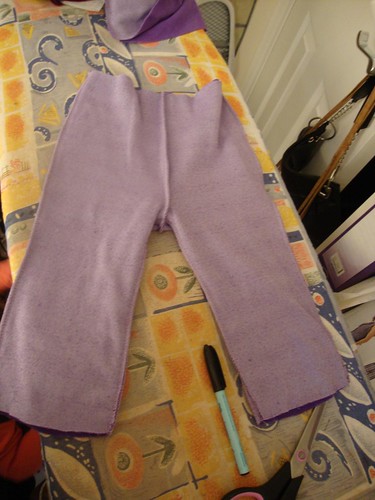
Now you need to separate the legs again, just reach inside and pull the inner leg free of the outer. And all of a sudden they look like trousers! Inside out trousers with no elastic or hems but still, trousers!
All that's left is to hem the legs and sew on the waistband elastic, then they're done. Let's look at option two....
OPTION 2
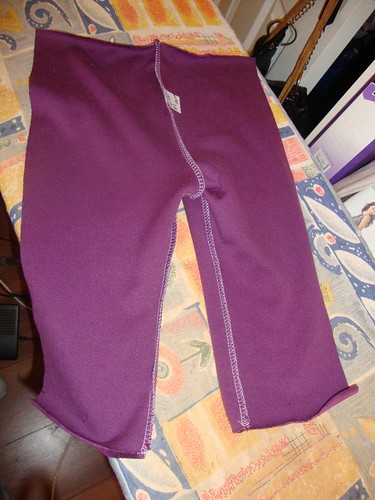
Here we are again, with both trouser leg inseams sewn together:
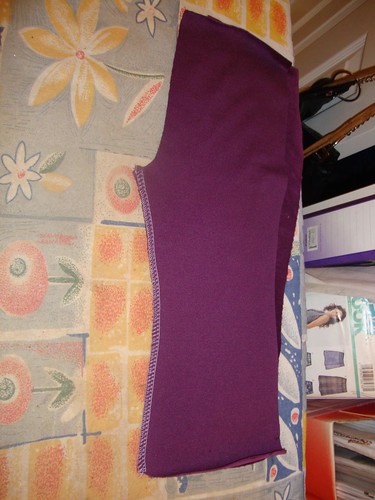
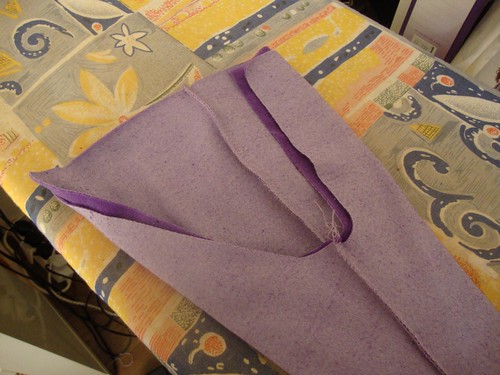
This time, open out one leg along the inseam.
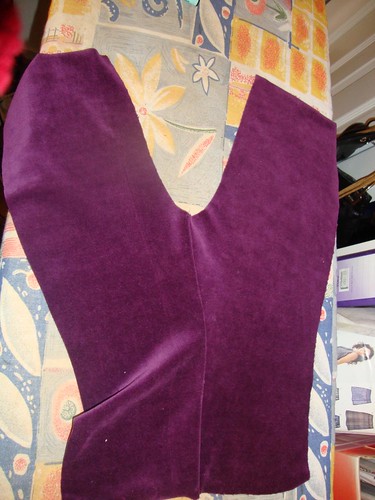
Place the other leg on top, right sides together. See the big U shape, with the inseam in the middle of it? That's the crotch seam and we're going to sew it now.
Here it is sewn, you can see my tag marking the centre back seam.
We've now sewn the inseam and crotch seams, we need to place the front and back pieces together to sew the outseams. With experience, this gets easier and less confusing. For your first few pairs I suggest going the long way round! Pick up the trousers, keeping the centre front and centre back crotch seams together in your hand.
Fold the trousers flat along the inseams and lay them flat again. They will be right side out at this point, the centre front and centre back crotch seam should be in the middle where they belong, the inseams that we sewed together first of all should be facing each other and the outseams should be unsewn but lined up.

We need to turn them right sides together to sew the outseam. Take hold of the top layer of fabric (the front) at the waist edge and fold it down towards the crotch.

Push it in between the trouser legs and bring it back up so the waist edges and centre front/back crotch seams are lined up again. The trousers are now exactly as they were a moment ago only right sides together, not right sides out.
Stitch the outseams, bottom hem up towards waistband and there we go, all that's left is to stitch the bottom hems and apply the waistband elastic.
Which method you use to piece your trousers is a matter of personal preference. After years of using the second method I now prefer the first, especially if using woven fabrics as it lets me topstitch all of the seams. Try them both a couple of times and see which one you like best.
You may have noticed I haven't mentioned how to apply the elastic to the waistband...that's a whole other post lol! I have a tutorial for it on Flickr, I'll add it here sometime soon to keep everything in the same place. As always, any questions please comment and I'll get back to you
lovely! unbelievable! so-so easy! i must make a trouser today!!!! cheers, Gladys
ReplyDeleteReally helpful post. Thanks.
ReplyDeletethanks
ReplyDeleteReally helpful , I am a beginner so had no idea which bit to sew first xx
ReplyDelete